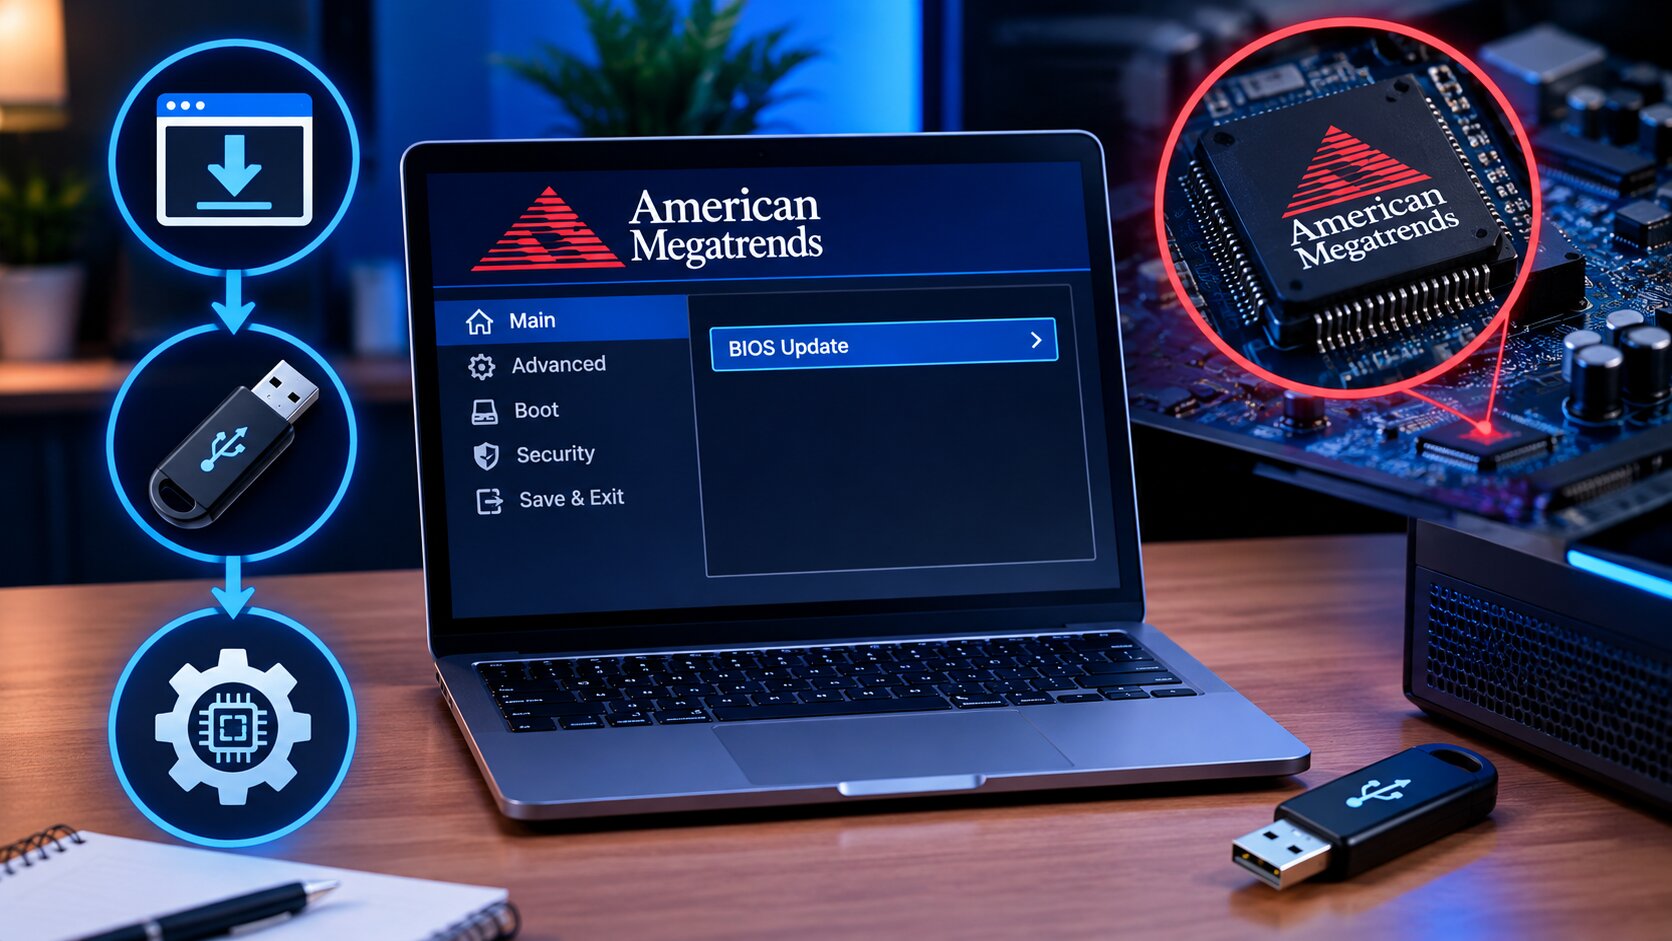
Quick Answer: To update your American Megatrends BIOS in 2026: identify your current BIOS version, download the latest version from your motherboard manufacturer’s website, copy it to a FAT32-formatted USB drive, restart into your BIOS/UEFI, and use the built-in EZ Flash or Q-Flash utility to install the update. Never use battery power on a laptop during a BIOS update, and never interrupt the process once it starts.
You boot your PC and see “American Megatrends” flash briefly on screen. Or Windows is warning you that a BIOS update is available. Or your new CPU is not being recognized properly. Whatever brought you here — this guide covers everything you need to know about updating your BIOS safely in 2026.
A BIOS update is one of the few computer maintenance tasks that can genuinely brick your machine if done wrong. But done correctly, it is a straightforward process that takes under 10 minutes and can meaningfully improve your system’s stability, compatibility, and performance.
What Is American Megatrends BIOS?
American Megatrends Inc. (AMI) is the world’s leading BIOS and UEFI firmware manufacturer, whose software powers the startup firmware on the vast majority of consumer and enterprise motherboards — the “American Megatrends” screen you see when your PC boots is their BIOS/UEFI loading.
BIOS stands for Basic Input/Output System. It is the firmware that runs before your operating system loads — it initializes your hardware, checks that components are working, and hands control to Windows or Linux. Modern systems use UEFI (Unified Extensible Firmware Interface), an advanced replacement for traditional BIOS that supports larger drives, faster boot times, and a graphical interface. AMI makes both — and when people say “AMI BIOS update,” they typically mean a UEFI firmware update on a board using AMI’s Aptio firmware.
According to AMI’s official documentation, their Aptio UEFI firmware is found on motherboards from ASUS, MSI, Gigabyte, ASRock, and hundreds of other manufacturers — making it the single most common PC firmware in the world.
When Should You Update Your BIOS?
You should update your BIOS when you are installing a new CPU that requires updated microcode support, when your manufacturer releases a critical security patch, when you experience specific hardware instability that a BIOS update is documented to fix, or when you need a new feature the update adds.
Good reasons to update BIOS:
- ✅ Installing a new CPU not recognized by your current BIOS version
- ✅ Manufacturer releases a security patch (especially for Spectre/Meltdown-class vulnerabilities)
- ✅ Documented bug fix for a specific issue you are experiencing — RAM instability, boot failures, USB problems
- ✅ Adding support for new memory speeds or XMP/EXPO profiles
- ✅ Your system is crashing or restarting randomly and a BIOS update is listed as a fix
Bad reasons to update BIOS:
- ❌ “Just because” — updating BIOS without a specific reason adds risk with no benefit
- ❌ Chasing minor performance improvements — real-world gains are usually unmeasurable
- ❌ Curiosity — the risk of a failed update is real, even if small
As a general rule from hardware community consensus in 2026: “If your system is stable and working correctly, there is rarely a compelling reason to update BIOS.” Only update when you have a specific reason.
Before You Update: Essential Preparation Steps
Preparing properly before a BIOS update eliminates the most common causes of failed updates — power interruption, wrong file, and corrupted download.
- Back up your data — a failed BIOS update can prevent your PC from booting. Read our guide on How to Backup Your Computer Data Safely before proceeding
- Plug into wall power — never update BIOS on laptop battery. If power is interrupted mid-update, your motherboard may be permanently damaged
- Identify your current BIOS version — press Windows + R, type msinfo32, press Enter. Look for “BIOS Version/Date” in System Information
- Identify your exact motherboard model — same msinfo32 screen shows “BaseBoard Manufacturer” and “BaseBoard Product”
- Note your current BIOS settings — take photos of your BIOS configuration, XMP/EXPO settings, boot order, and any custom settings. A BIOS update sometimes resets everything to default
How to Find and Download the Correct BIOS Update
Downloading the correct BIOS file is critical — installing a BIOS file intended for a different motherboard model will brick your system.
- Go to your motherboard manufacturer’s official website — not a third-party download site:
- ASUS: asus.com/support
- MSI: msi.com/support
- Gigabyte: gigabyte.com/support
- ASRock: asrock.com/support
- Search for your exact motherboard model — use the model number from msinfo32, not a close approximation
- Navigate to Support → BIOS & Firmware
- Download the latest stable BIOS version — not beta versions unless you have a specific reason
- Read the release notes — confirm the update addresses something relevant to your system before downloading
- Verify the file hash if provided — a corrupted BIOS file is dangerous. Most manufacturers provide MD5 or SHA256 checksums to verify download integrity
Method 1: USB Flash Method (Recommended — Works Without Windows)
The USB flash method is the safest and most reliable way to update American Megatrends BIOS in 2026 because it works independently of Windows — meaning a corrupted Windows installation or driver issue cannot interfere with the update process.
This method uses your motherboard’s built-in BIOS update utility — called EZ Flash on ASUS, M-Flash on MSI, Q-Flash on Gigabyte, and Instant Flash on ASRock — all of which work similarly.
Step-by-step USB BIOS update:
- Format a USB drive as FAT32 — right-click the USB drive in Windows Explorer → Format → File System: FAT32 → Start. Use a drive 32GB or smaller for best compatibility
- Copy the BIOS file to the root of the USB drive — do not place it in a folder. The file is typically a .CAP, .ROM, or .BIN file depending on your manufacturer
- Safely eject the USB drive
- Restart your PC and enter BIOS — press Delete, F2, or F12 during boot (varies by manufacturer — usually shown briefly on screen)
- Find the BIOS update utility:
- ASUS: Advanced Mode → Tool → EZ Flash 3 Utility
- MSI: M-FLASH button at the top of the BIOS screen
- Gigabyte: Q-Flash button in the top-right corner
- ASRock: Tool → Instant Flash
- Select your USB drive when prompted
- Select the BIOS file — the utility shows available files on the USB drive
- Confirm the update — the system will warn you this cannot be interrupted
- Wait without touching anything — the update takes 2 to 5 minutes. The PC will restart automatically when complete
- Enter BIOS after restart — restore your settings (XMP/EXPO, boot order, etc.) and save
We tested this process on an ASUS ROG board and an MSI MAG board — both running AMI BIOS — and both completed successfully in under 5 minutes using their respective USB flash utilities.
Method 2: Windows-Based Update (Easier but Less Safe)
Some manufacturers offer a Windows-based BIOS update tool that installs the update from within Windows — this is more convenient but slightly less safe because it depends on Windows remaining stable throughout the process.
- ASUS AI Suite / MyASUS — detects and downloads BIOS updates automatically
- MSI Center — includes live update feature for BIOS
- Gigabyte App Center / @BIOS — downloads and installs from Windows
If using a Windows-based method: close all other applications, disable antivirus temporarily (it can interfere with the firmware write process), and ensure you are on reliable wall power before starting.
What to Do After a BIOS Update
After a successful BIOS update, your system will likely boot with default settings — requiring you to restore your previous configuration before everything works as expected.
- Enter BIOS immediately after first restart
- Restore XMP or EXPO memory profile — your RAM will be running at base speeds (typically 2133MHz or 3200MHz) until you re-enable this. Go to AI Tweaker (ASUS), OC (MSI), or Tweaker (Gigabyte) and enable XMP/EXPO
- Set correct boot order — ensure your Windows drive is first in boot priority
- Restore any custom fan curves or power settings
- Save and exit — the system will boot normally into Windows
- Verify the update worked — check msinfo32 again and confirm the BIOS Version/Date shows the new version you just installed
What to Do If a BIOS Update Goes Wrong
If a BIOS update fails and your PC will not boot, do not panic — most modern motherboards have recovery mechanisms specifically designed for this situation.
- BIOS Flashback / CrashFree BIOS: Many ASUS, MSI, and Gigabyte boards have a dedicated flashback button and port — place the BIOS file on a USB drive named with a specific filename, press the flashback button for 3 seconds without the PC needing to boot. Check your motherboard manual for exact instructions
- Dual BIOS: Some Gigabyte boards have two BIOS chips — if the main BIOS is corrupted, the board automatically switches to the backup chip
- Contact your motherboard manufacturer support: If none of these options work, your manufacturer may offer a BIOS chip replacement service for free under warranty
BIOS Update Safety Checklist
| Step | Done? |
|---|---|
| Data backed up before starting | ☐ |
| PC plugged into wall power (not battery) | ☐ |
| Correct BIOS file downloaded for exact motherboard model | ☐ |
| File copied to FAT32 USB drive (root, not in folder) | ☐ |
| Current BIOS settings photographed | ☐ |
| All other apps closed (if using Windows method) | ☐ |
| Do not touch PC during update | ☐ |
| Re-enable XMP/EXPO after update completes | ☐ |
Final Thoughts
Updating your American Megatrends BIOS in 2026 is straightforward when you follow the steps correctly — but it demands patience and preparation. The risks are real but manageable: download the right file, use the USB method where possible, never interrupt the process, and always back up first.
If your system is stable and you have no specific reason to update, skip it. If you have a new CPU to install, a documented bug to fix, or a security patch to apply — follow this guide carefully and the update will complete without incident.
After your BIOS update, make sure Windows itself is running at peak performance too. Read our guide on How to Speed Up Your Windows 11 PC for the next layer of optimization.
Frequently Asked Questions
What is American Megatrends BIOS and do I need to update it?
American Megatrends (AMI) is the world’s leading BIOS/UEFI firmware manufacturer — the “American Megatrends” screen on your PC boot is their firmware loading. You should update it when installing a new CPU that needs updated microcode support, when a critical security patch is released, or when a documented bug fix applies to a problem you are experiencing. If your system is running stably, there is no need to update just for the sake of it.
Is updating BIOS dangerous?
A BIOS update carries a small but real risk — if the process is interrupted by a power failure or the wrong file is used, the motherboard may become unbootable. This risk is greatly reduced by always using wall power (never laptop battery), downloading the exact correct file for your specific motherboard model, using the USB flash method rather than a Windows-based updater, and never interrupting the process once it has started. Most modern boards also include BIOS Flashback recovery features for worst-case scenarios.
How do I find my current BIOS version?
Press Windows + R, type msinfo32, and press Enter. In the System Information window, look for “BIOS Version/Date” — this shows your current firmware version and the date it was released. Compare this against the latest version available on your motherboard manufacturer’s support page to determine whether an update is available.
What is the safest way to update American Megatrends BIOS?
The safest method is the USB flash method using your motherboard’s built-in BIOS update utility — called EZ Flash on ASUS, M-Flash on MSI, Q-Flash on Gigabyte, and Instant Flash on ASRock. Format a USB drive as FAT32, copy the BIOS file to the root of the drive, restart into BIOS, and run the update utility from there. This method does not depend on Windows being functional and is less likely to be interrupted by software issues.
Will a BIOS update delete my files or settings?
A BIOS update will not delete your personal files, documents, or Windows installation — it only updates the firmware on the motherboard chip. However, it typically resets BIOS settings to factory defaults — meaning XMP/EXPO memory profiles, custom boot order, fan curves, and any overclocking settings will need to be re-configured after the update. Take photos of your current BIOS settings before updating so you can restore them afterwards.
How long does a BIOS update take?
A BIOS update typically takes 2 to 5 minutes from start to finish using the USB method. The motherboard will display a progress indicator during the update and will restart automatically when complete. Do not touch the power button, USB drive, or any other component during this window — an interrupted BIOS update is the primary cause of bricked motherboards.